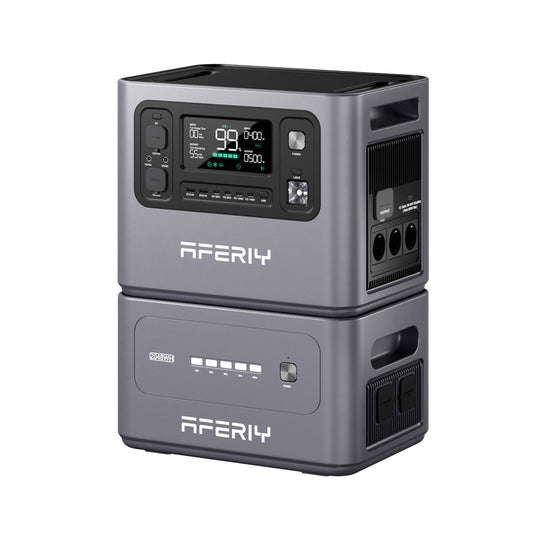


Come controllare a distanza la stazione di energia Aferiy?
Devi cercare e scaricare l'app “brightEMS” dallo store delle app.
Poi puoi accedere all'app per controllare la Aferiy Power Station.
1. Accesso
Quando entri APP , apparirà l'interfaccia di login come sopra. Dopo aver letto il contratto di servizio e l'informativa sulla privacy, puoi accedere con il tuo account Google o un account esistente.

2. Associazione del dispositivo
Dopo il login riuscito, entrerai nell'interfaccia del dispositivo.

Seleziona Aggiungi dispositivo o il segno più in alto a destra per entrare nell'interfaccia Aggiungi dispositivo.

Dopo essere entrato nell'interfaccia Aggiungi dispositivo, APP cercherà automaticamente i dispositivi nelle vicinanze che possono essere associati (il Bluetooth deve essere attivato per cercare i dispositivi). Se vuoi cercare solo un certo modello di dispositivo, puoi cliccare sul modello corrispondente in Aggiungi dispositivo manualmente qui sotto per cercare separatamente. Dopo la ricerca riuscita, clicca sul dispositivo corrispondente per associarlo.
3. Controllo delle funzioni del dispositivo
Dopo il collegamento riuscito, entrerai nell'interfaccia di configurazione della rete. La configurazione della rete supporta solo 2.4G rete .

Interfaccia principale dell'app apparirà direttamente, quindi seleziona il dispositivo corrispondente per entrare nell'interfaccia di controllo del dispositivo.

Se non vuoi configurare la rete, clicca su Configura più tardi per entrare direttamente nell'interfaccia di controllo del dispositivo.

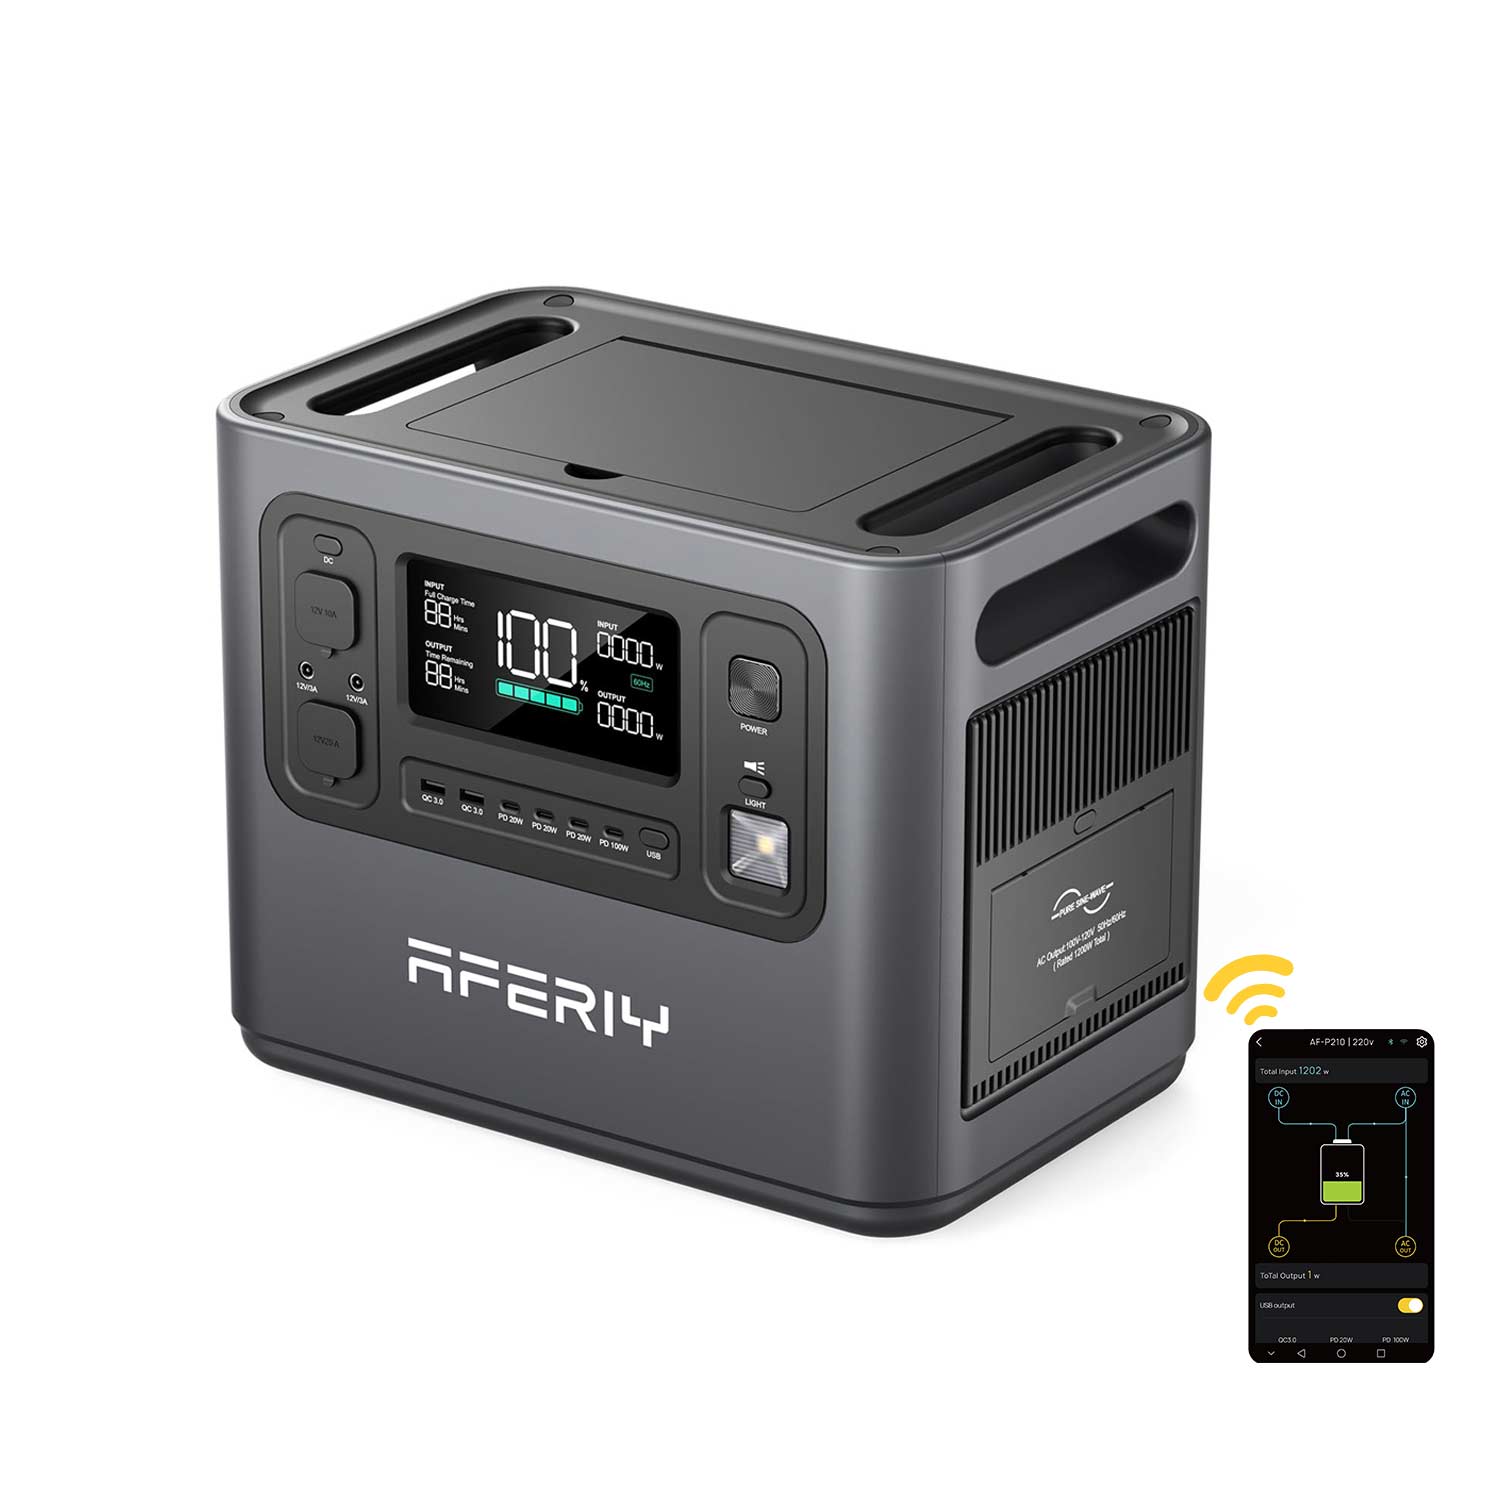
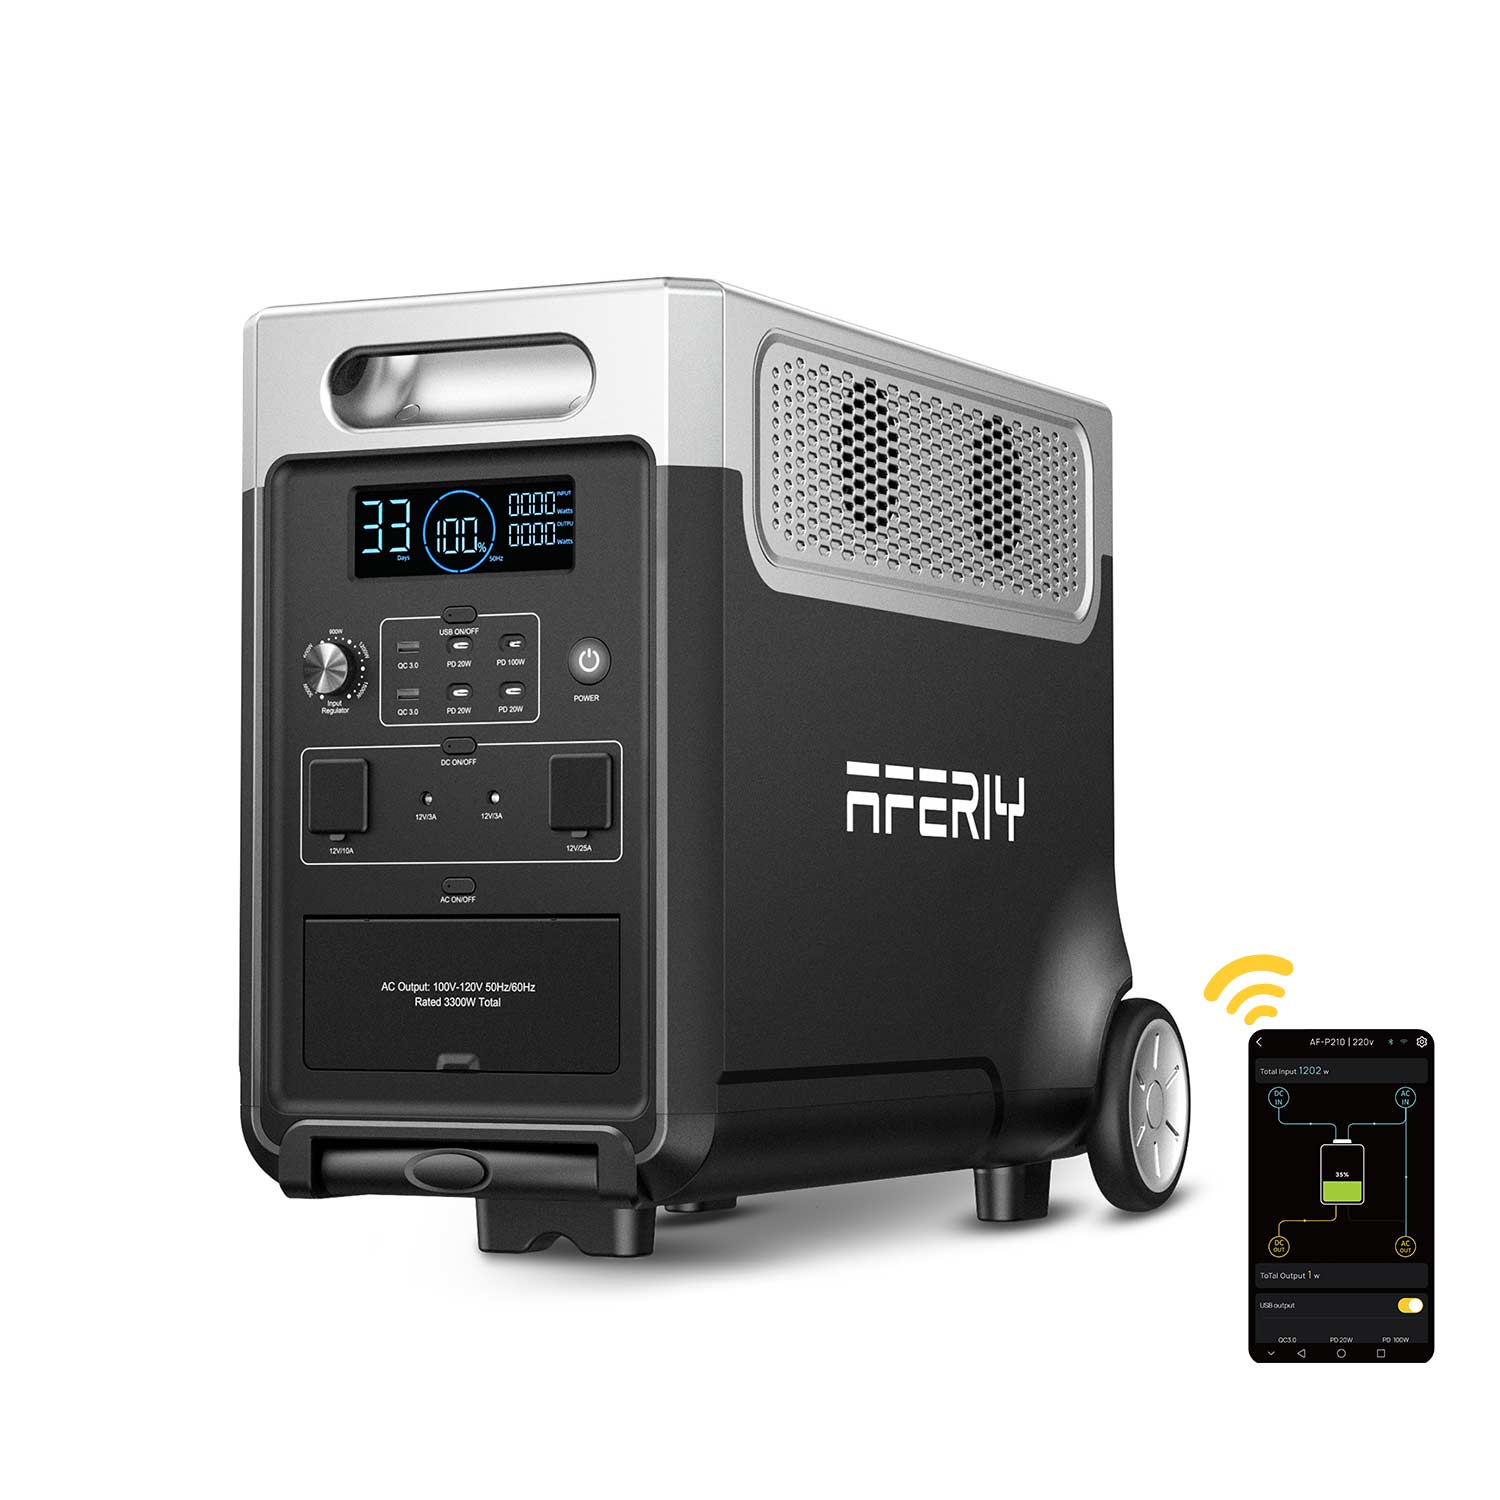
L'interfaccia di controllo del dispositivo può visualizzare il WIFI del dispositivo e stato della connessione Bluetooth, nonché stato e potenza di ingresso e uscita del dispositivo, e può controllare la sua uscita USB, AC uscita, DC uscita e LED luci . Quando il dispositivo segnala un errore, verrà mostrato un messaggio corrispondente in questa interfaccia. La figura seguente mostra un errore nell'uscita DC. Clicca per visualizzare i dettagli del guasto :

4. Impostazioni delle funzioni del dispositivo
Clicca sull'ingranaggio in alto a destra per entrare nell'interfaccia delle impostazioni, dove puoi modificare alcune funzioni di base del dispositivo controllato. Le funzioni che possono essere impostate includono icona del dispositivo, nome del dispositivo, gestione delle autorizzazioni, suono dei tasti, gestione dell'energia, A C ricarica silenziosa, ricarica programmata, D C impostazioni di ricarica, tempo di spegnimento dello schermo, tempo di standby, configurazione della rete, ecc., nonché versione del firmware, registro degli errori e scollegamento del dispositivo.

Le impostazioni dell'icona del dispositivo e del nome del dispositivo possono modificare l'icona e il nome visualizzati su Interfaccia principale dell'app del dispositivo.

La gestione delle autorizzazioni può gestire i permessi per controllare il dispositivo. Un account con permessi di gestione può limitare il controllo del dispositivo da parte di altri account o scollegare direttamente altri account dal dispositivo. (Solo il primo account associato ha i permessi di gestione).

L'impostazione del suono dei tasti può stabilire se emettere o meno un suono quando un tasto viene premuto. La gestione dell'energia può limitare i limiti superiori e inferiori della carica del dispositivo. Quando la carica raggiunge il limite superiore o la scarica raggiunge il limite inferiore, il dispositivo smetterà di caricare o scaricare. (L'impostazione del limite superiore è valida solo per AC carica , e DC carica non è soggetto al limite superiore)

Quando La carica silenziosa AC è attivata, l'AC la potenza di carica diventerà potenza di carica silenziosa. Durante la carica silenziosa, la potenza di carica del dispositivo è bassa, il che non causa facilmente l'AC a surriscaldamento e accendere la ventola.
La carica programmata ti permette di programmare la Orario di inizio carica AC. Dopo la programmazione della carica, collegare il caricatore e l'AC inizierà la carica quando arriva l'orario programmato. ( DC la carica non è influenzata dalla carica programmata)

L'impostazione di carica DC può modificare la DC modalità di ingresso e corrente massima. Le modalità di ingresso includono modalità fotovoltaica e modalità DC. La modalità fotovoltaica è adatta per la carica fotovoltaica, e la modalità DC è adatta per alimentazione DC o carica tramite adattatore. La corrente massima di carica può essere impostata fino a 20A . Se la corrente massima di carica impostata è superiore alla corrente massima nominale del dispositivo, la corrente massima sarà la corrente massima nominale.

L'impostazione del tempo di spegnimento dello schermo può impostare il tempo di spegnimento dello schermo.

L'impostazione del tempo di standby può impostare il tempo di standby della porta di uscita del dispositivo e il tempo di spegnimento dell'intero dispositivo. Il predefinito Il tempo di standby AC è di 8 ore, il predefinito DC il tempo di standby è di 8 ore, il predefinito USB il tempo di standby è di 3 minuti, e il tempo di spegnimento predefinito è di 5 minuti. Quando la porta di uscita del dispositivo non ha alcuna uscita entro il tempo impostato, la porta di uscita verrà chiusa al termine del conto alla rovescia. Quando il dispositivo non ha alcuna azione di input o output entro il tempo di spegnimento impostato, e non c'è alcuna porta di uscita accesa, il dispositivo si spegnerà automaticamente al termine del conto alla rovescia.

La configurazione di rete può configurare la rete, e la configurazione di rete supporta solo 2.4G rete .

La versione del firmware può mostrare la versione del firmware di ogni parte del dispositivo attuale. Se è disponibile una nuova versione, può essere aggiornata online. (L'aggiornamento online richiede una rete stabile)

Il registro guasti può visualizzare i dettagli del guasto attuale del dispositivo.

La dissociazione di un dispositivo libererà il App dalla dissociazione del dispositivo.
5. Il mio dispositivo
Clicca nell'angolo in basso a destra del APP interfaccia principale per entrare nella mia interfaccia.

Nella mia interfaccia ci sono nome utente, impostazioni avatar, aiuto e feedback e informazioni.

Clicca sull'avatar per modificare le tue informazioni personali.

Clicca su Impostazioni per configurare APP lingua, regione, account e sicurezza, notifiche di sistema e autorizzazioni di sistema dell'

Aiuto e Feedback ti permette di fornire feedback sui problemi che incontri con il tuo dispositivo o APP . Clicca sul modello del dispositivo corrispondente per fornire feedback su problemi con quel dispositivo o APP .

Puoi conoscere l'attuale APP numero di versione, sito ufficiale, accordo di servizio, politica sulla privacy e aggiornamento del APP versione.